
Don't let spam bots fill your database with fake entries. Protect your form by adding a layer of security with our reCAPTCHA Module. It integrates with PrestaShop to block bots without annoying real customers.


Influencer Popup
Create a custom welcome popup for visitors from influencer campaigns, building instant trust and dri…
Read more »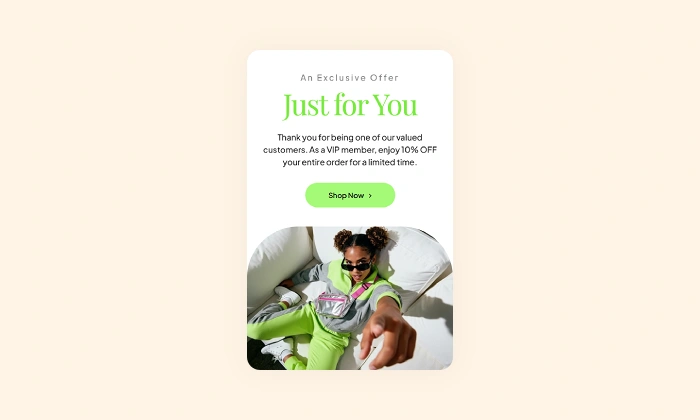
VIP Offer Popup
Reward your best customers with exclusive deals Increase loyalty and drive repeat sales by showing s…
Read more »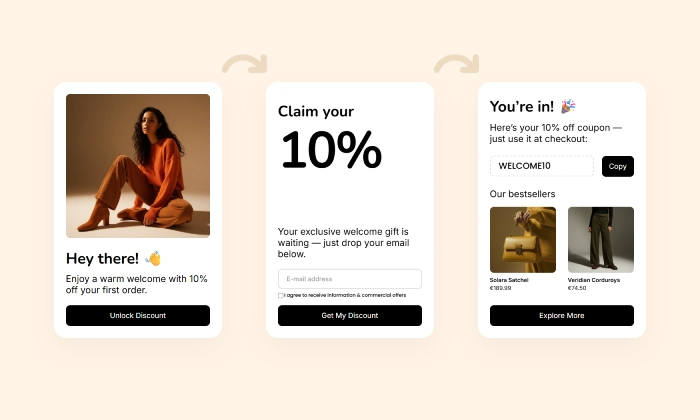
Multi-Step Welcome Popup
Boost your signup rate by breaking down the subscription process into easy, low-commitment steps tha…
Read more »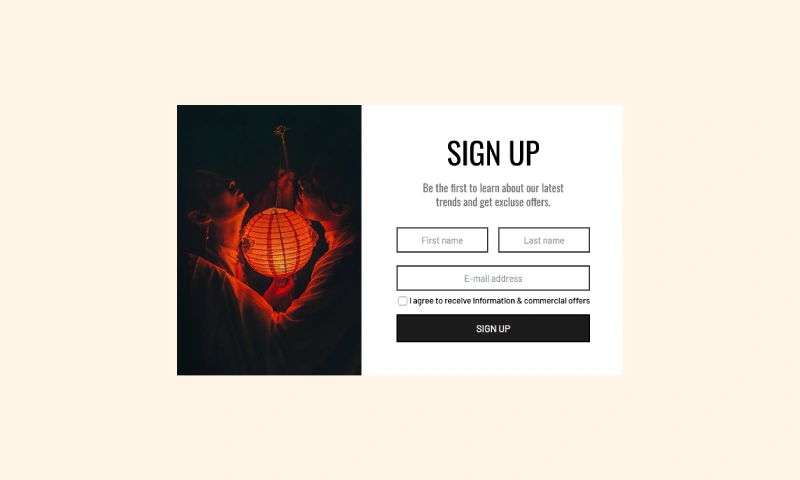
Brevo Newsletter Popup
Sync new subscribers from your PrestaShop store directly to your Brevo email lists and automation wo…
Read more »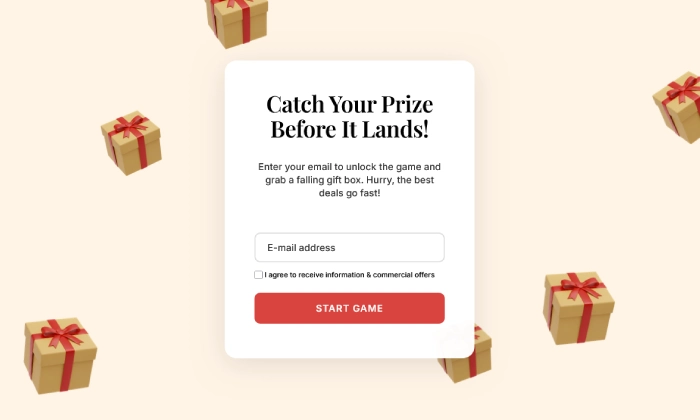
Falling Gifts Popup
A Fresh Way to Engage Visitors and Grow Your List Stand out from the crowd and delight visitors with…
Read more »
Gamified Popup
Boost Engagement and Sales with a Fun Puzzle Popup Challenge visitors to solve an interactive slidin…
Read more »