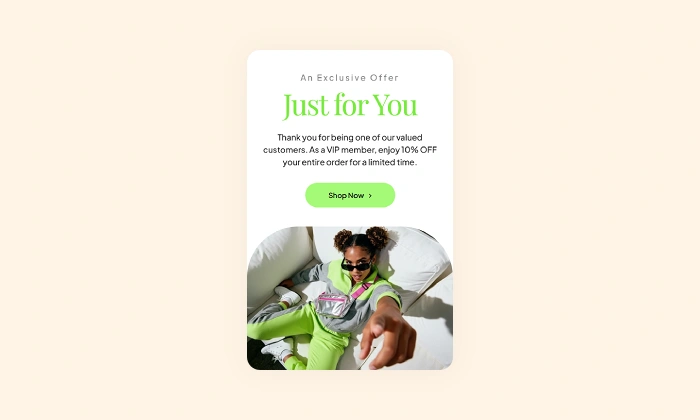


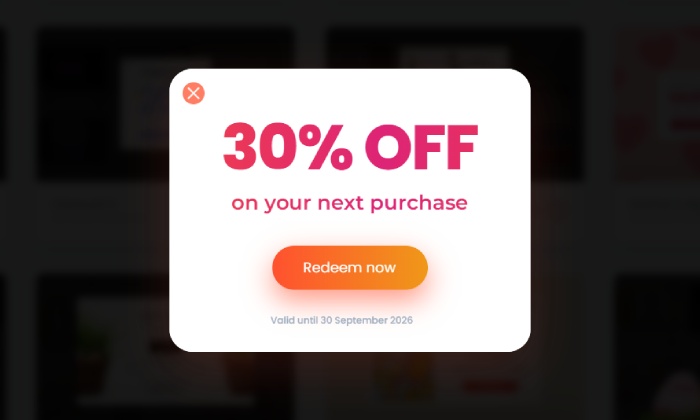

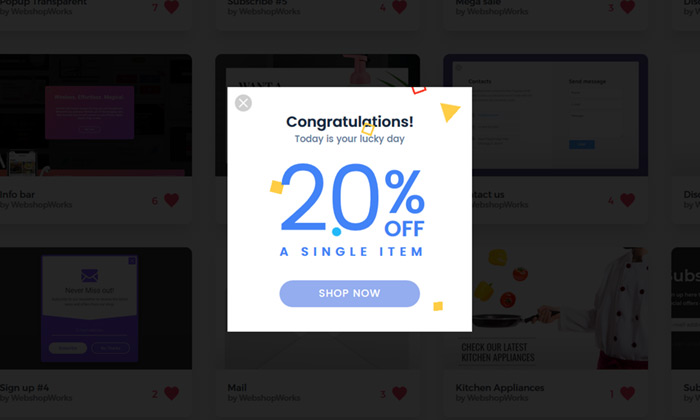
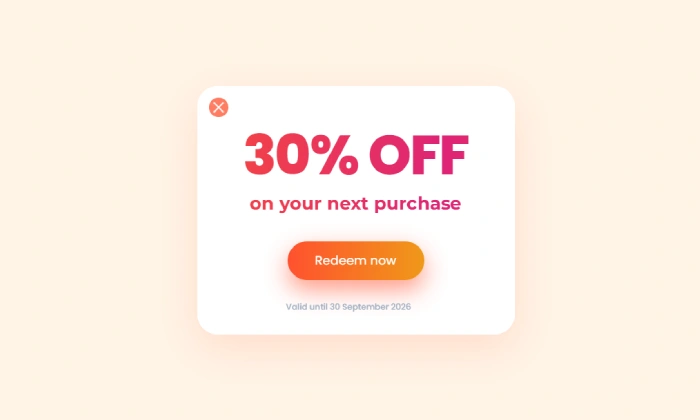
Discount Coupon Popup
Turn engaged shoppers into buyers with a coupon Offer a timely discount coupon to visitors showing i…
Read more »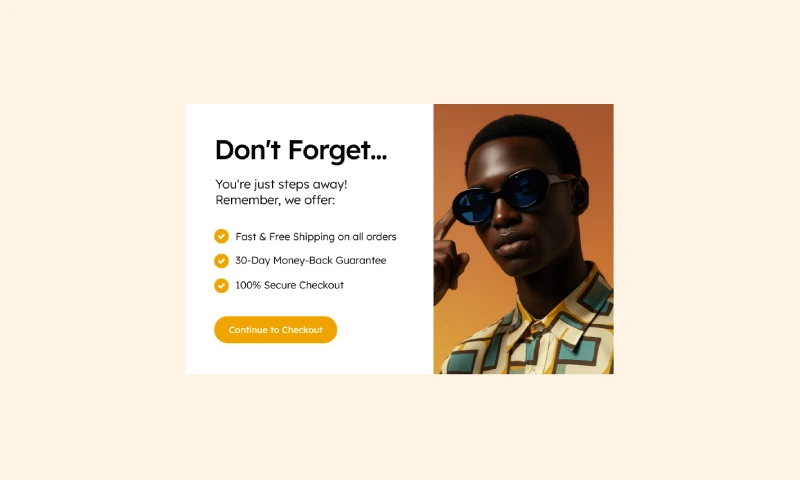
Exit-Intent Popup
Boost checkout confidence and save sales Remind shoppers of your store’s key benefits at the last se…
Read more »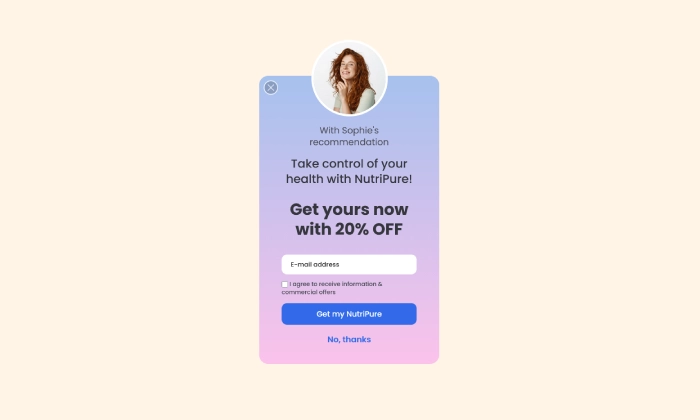
Influencer Popup
Create a custom welcome popup for visitors from influencer campaigns, building instant trust and dri…
Read more »
Spin To Win Popup
Turn shopping into a fun experience with a "Spin to Win" wheel that offers instant discounts and dri…
Read more »
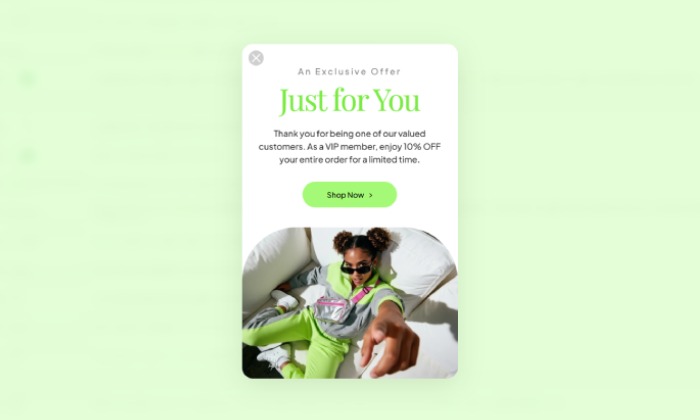
Login Popup
Allow your customers to log in from any page without interruption, reducing friction and improving t…
Read more »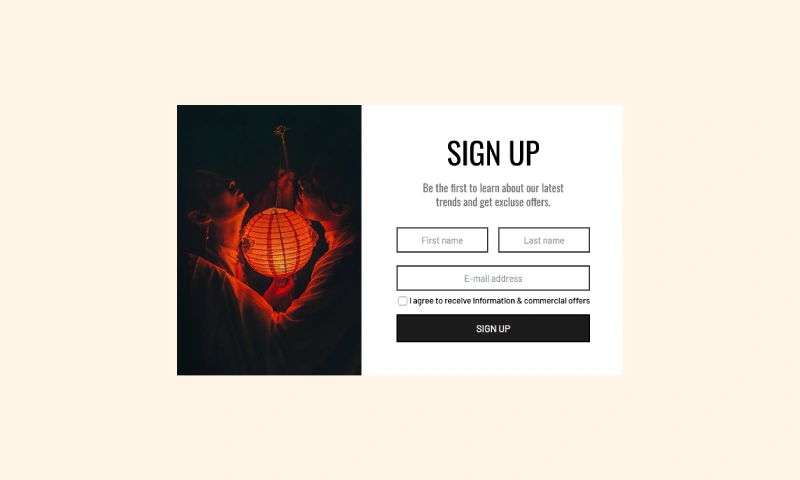
Brevo Newsletter Popup
Sync new subscribers from your PrestaShop store directly to your Brevo email lists and automation wo…
Read more »