

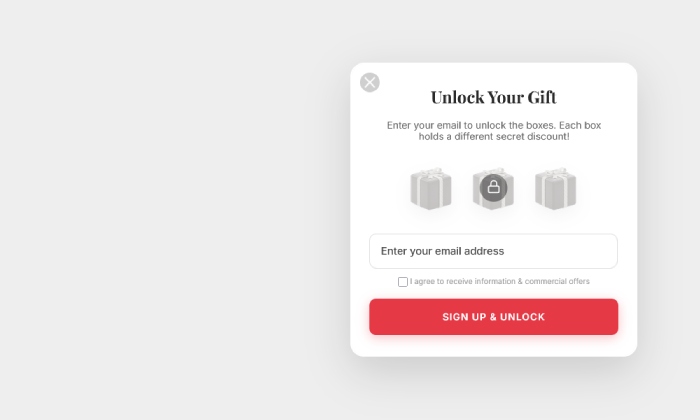


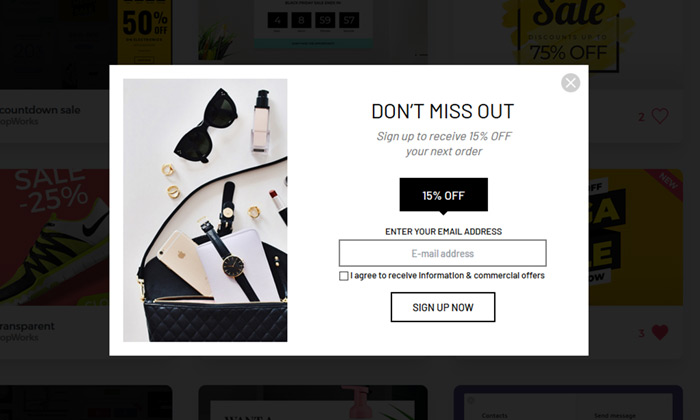
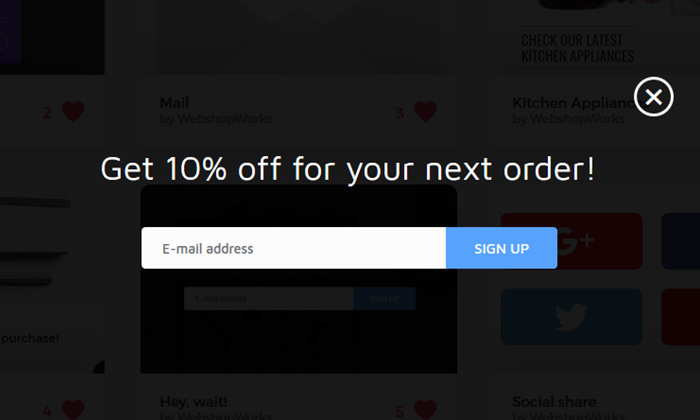

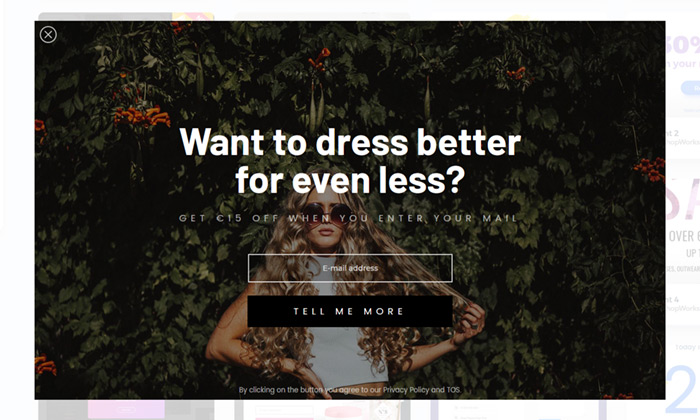


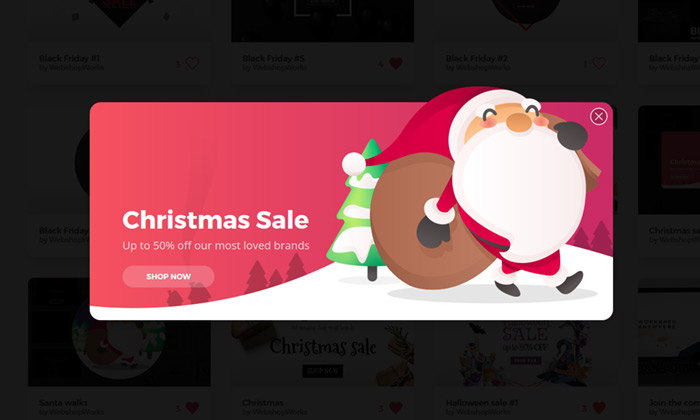

Multi-Step Welcome Popup
Boost your signup rate by breaking down the subscription process into easy, low-commitment steps tha…
Read more »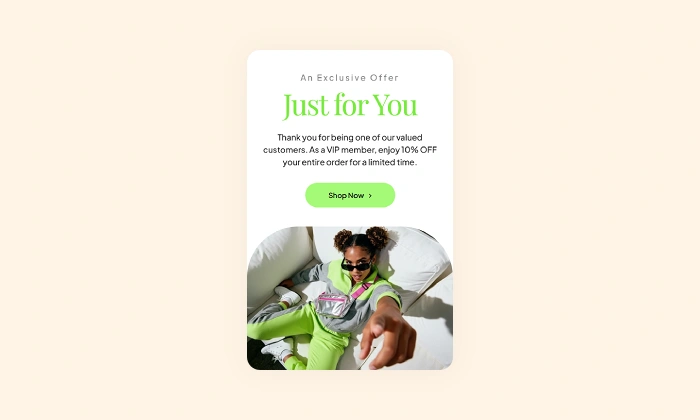
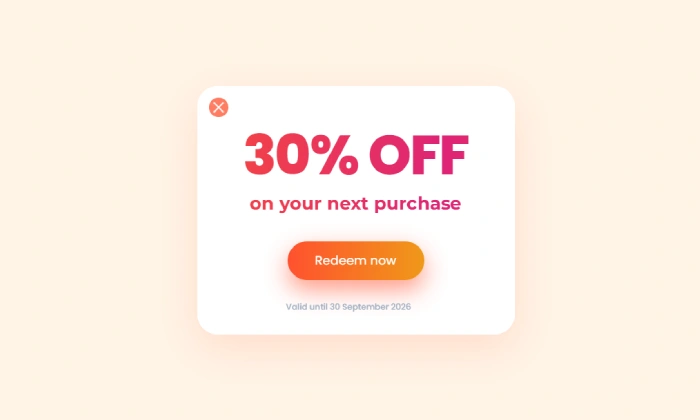
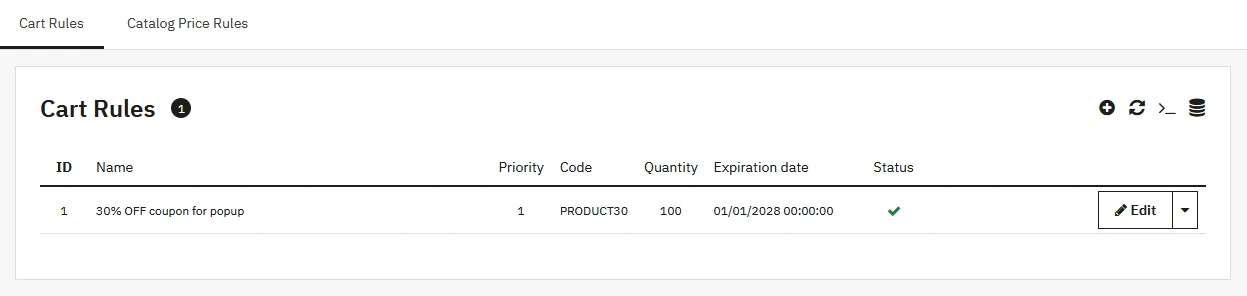
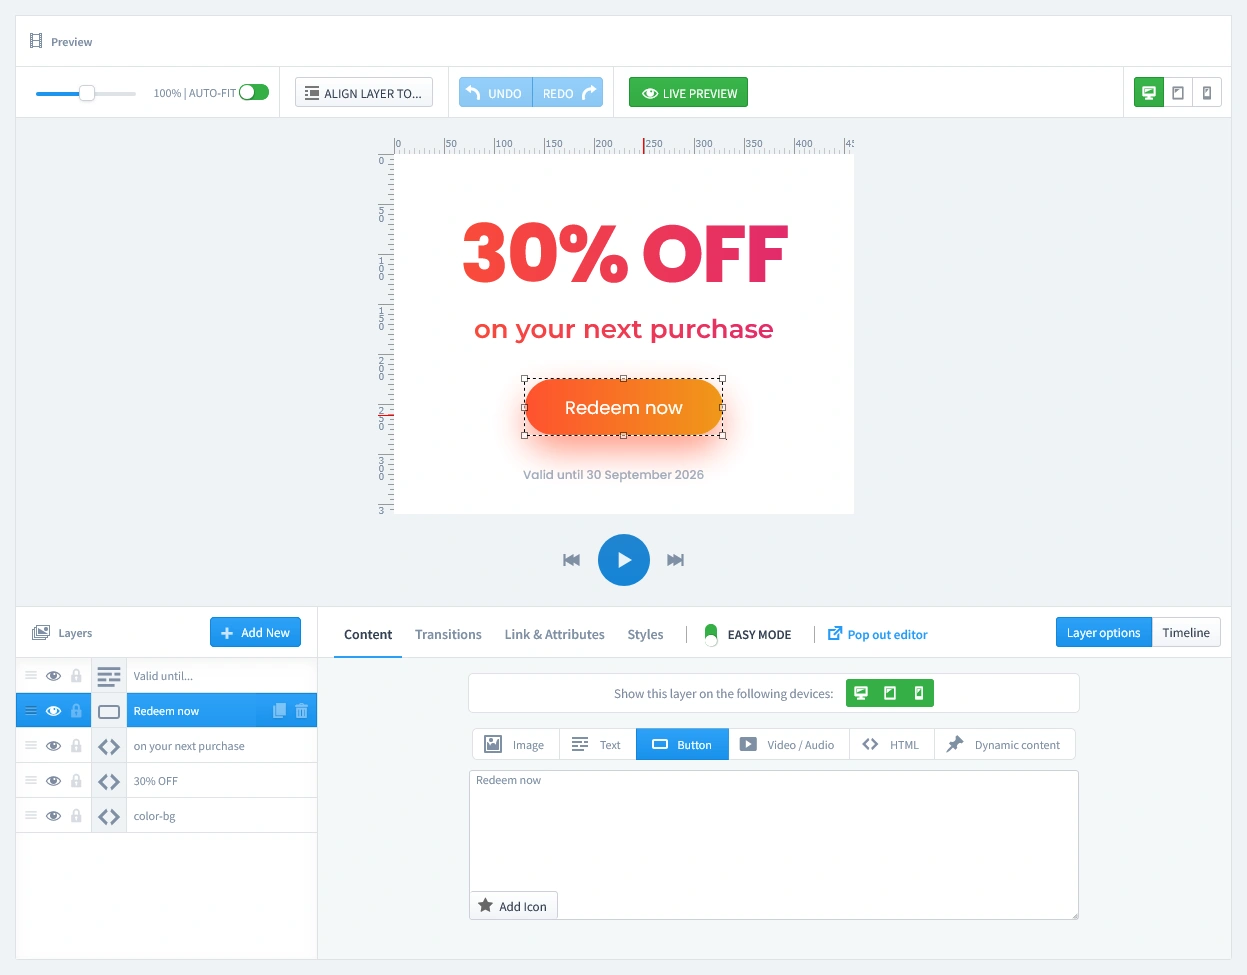
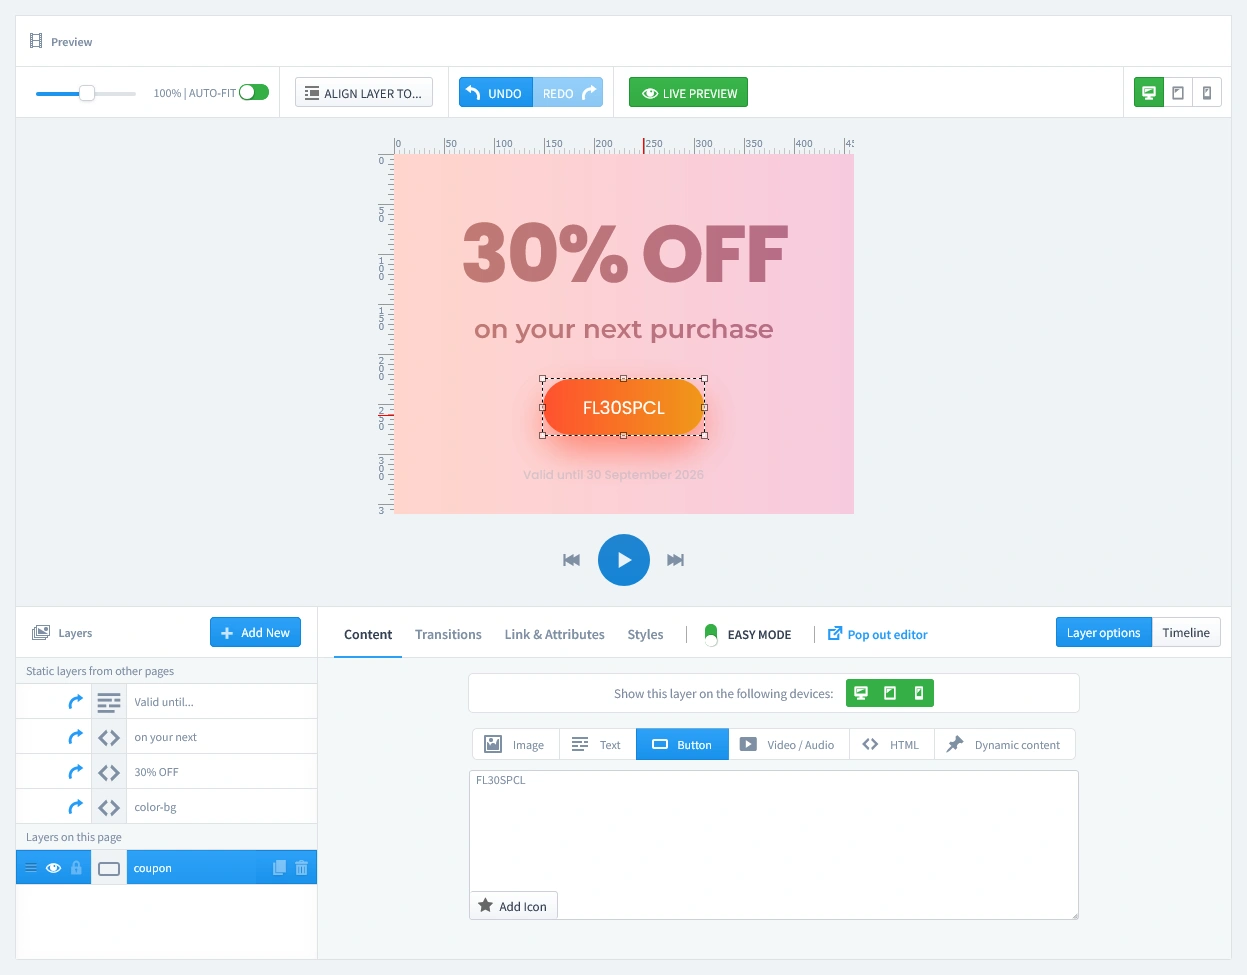
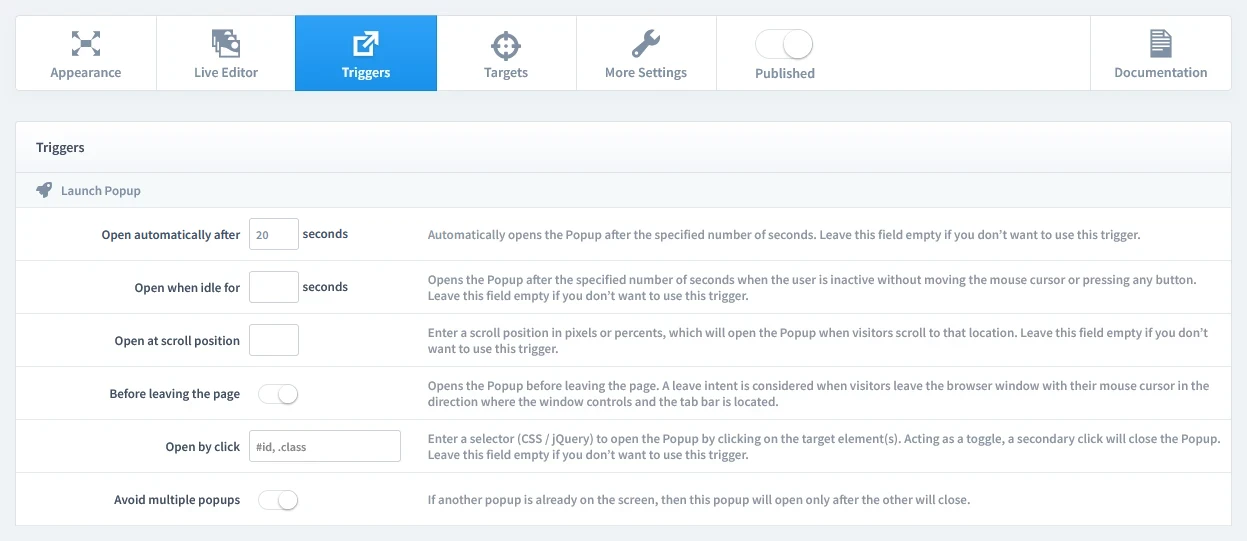
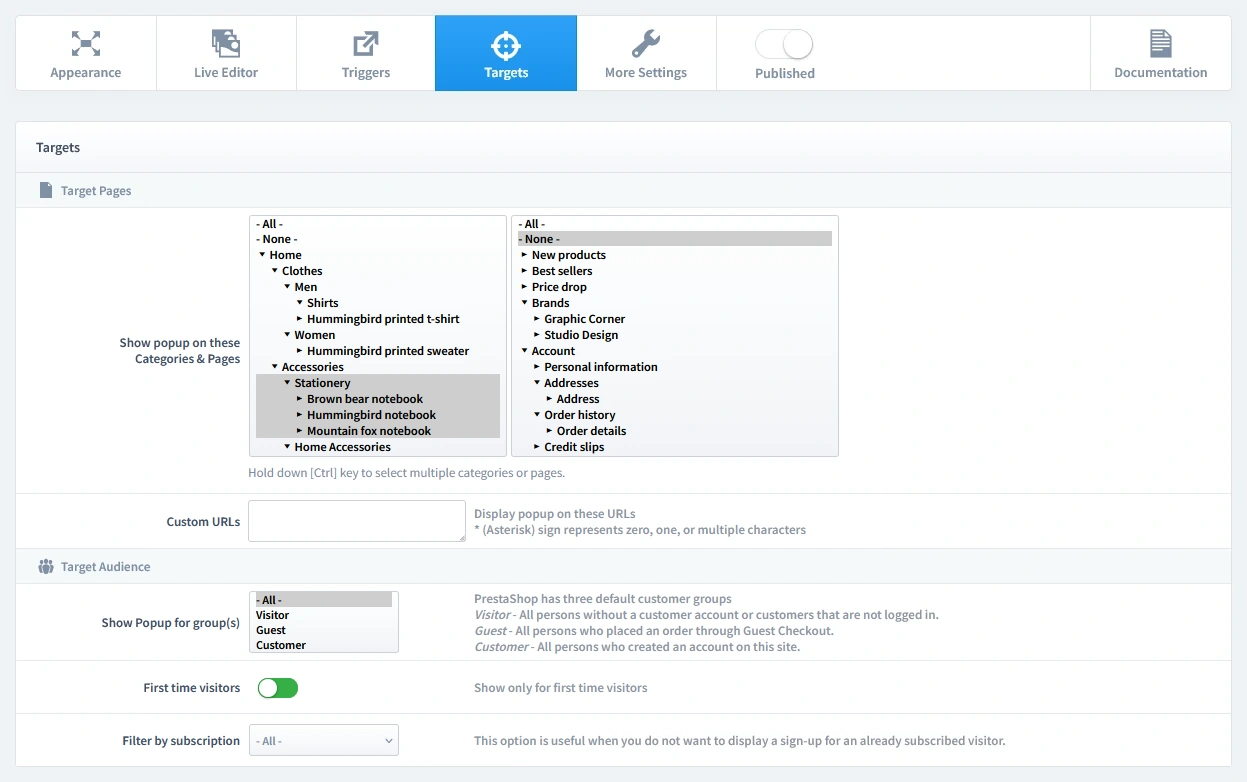
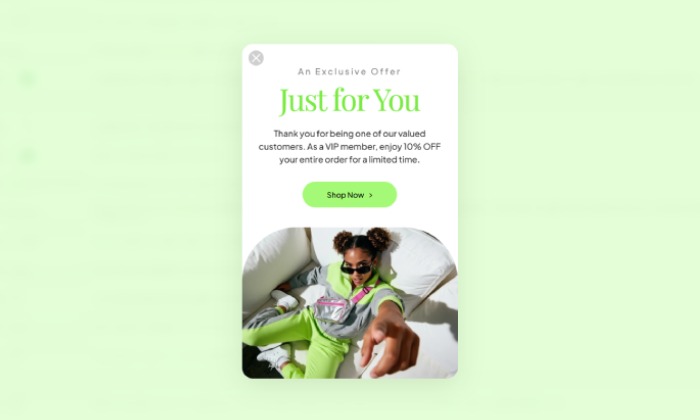
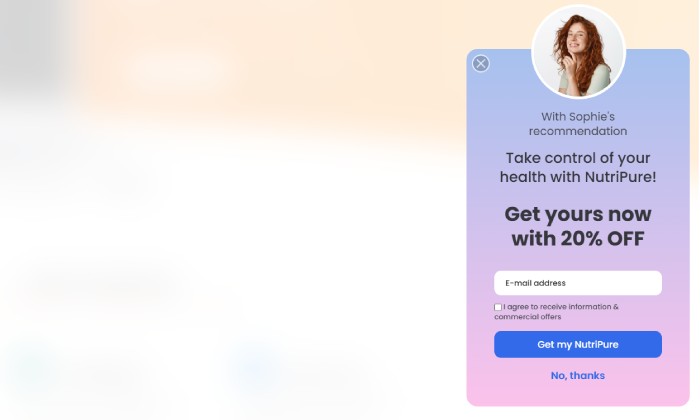
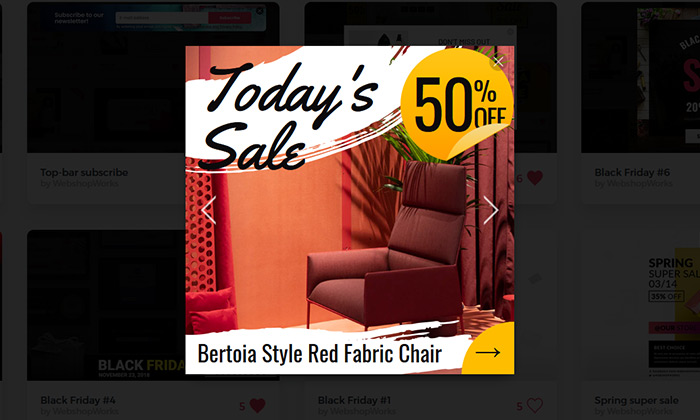
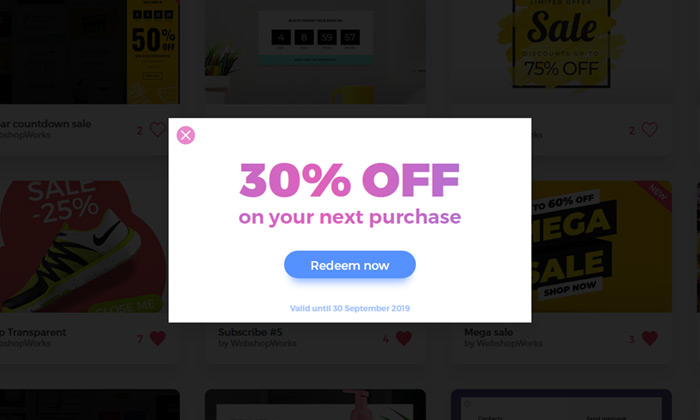
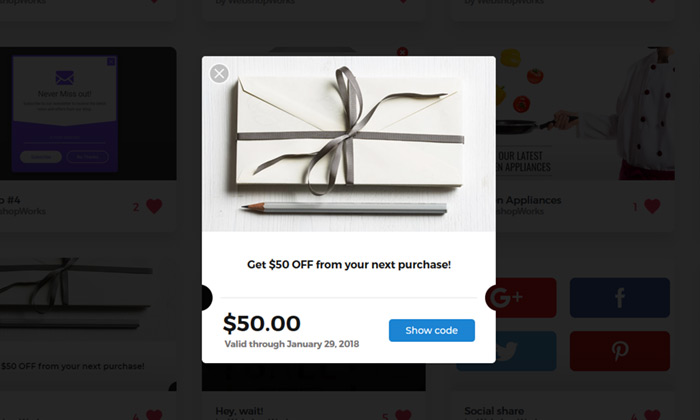
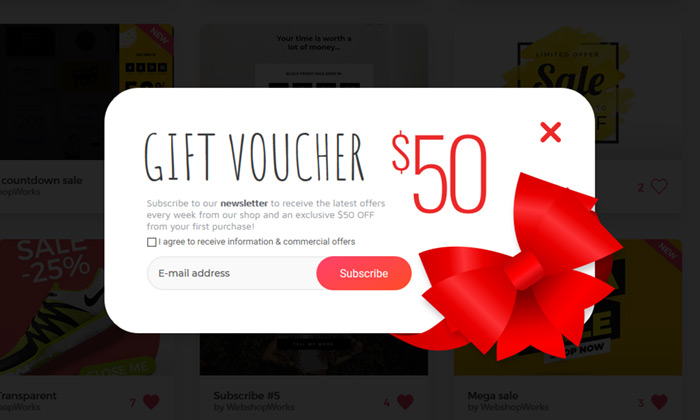
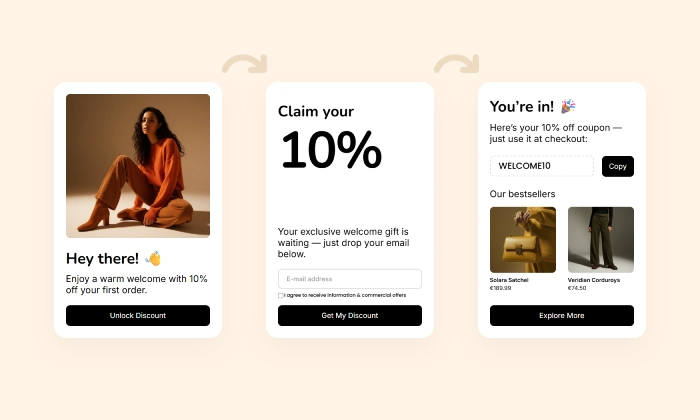
VIP Offer Popup
Reward your best customers with exclusive deals Increase loyalty and drive repeat sales by showing s…
Read more »
WhatsApp Live Chat Popup
Provide real-time support and build relationships by allowing visitors to chat with you directly on …
Read more »
Contact Form Popup
Provide instant, accessible support with a non-intrusive contact form that builds trust and removes …
Read more »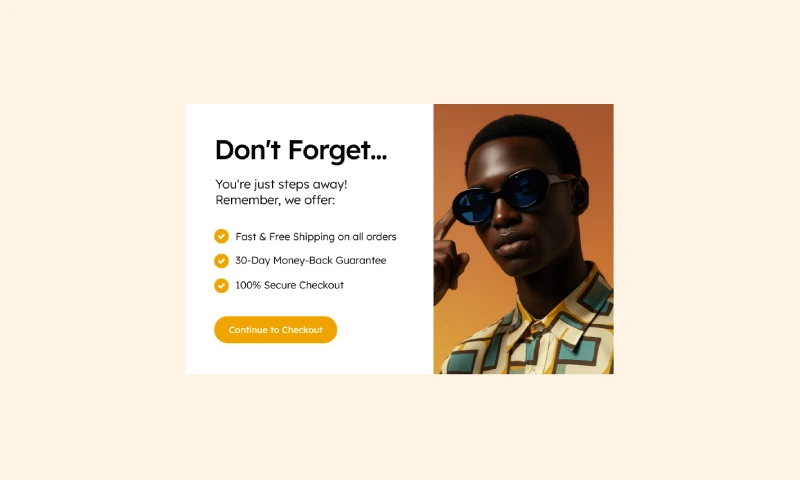
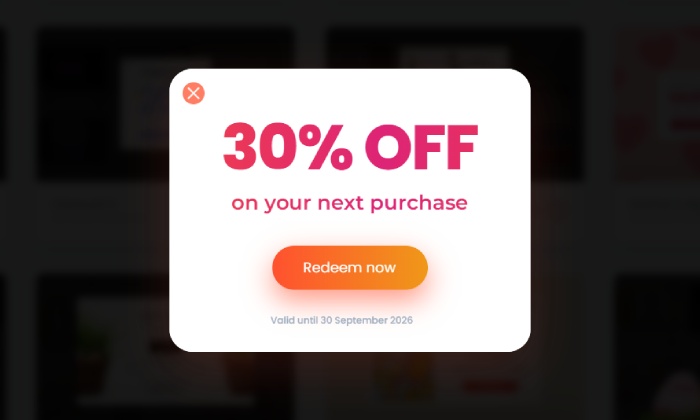
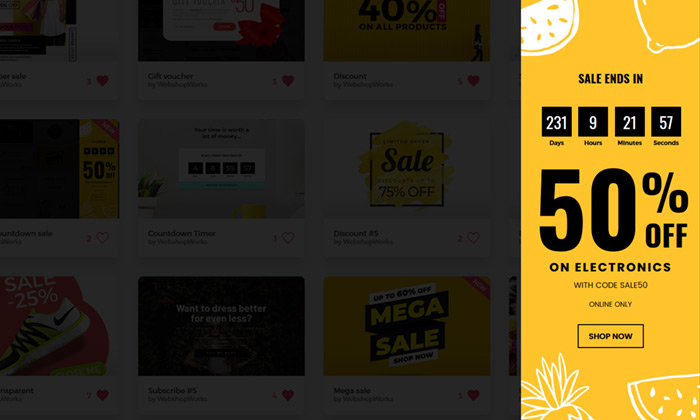
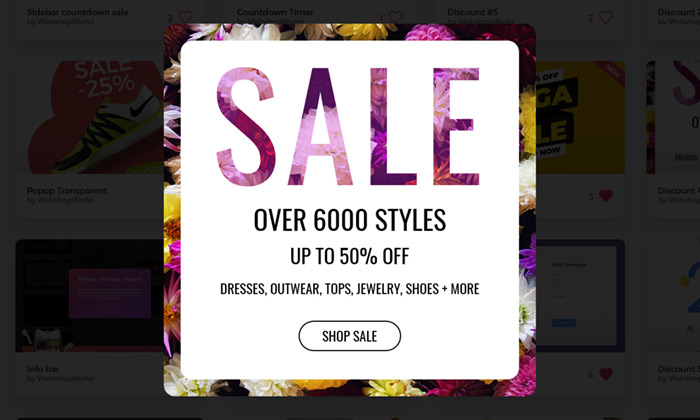
Exit-Intent Popup
Boost checkout confidence and save sales Remind shoppers of your store’s key benefits at the last se…
Read more »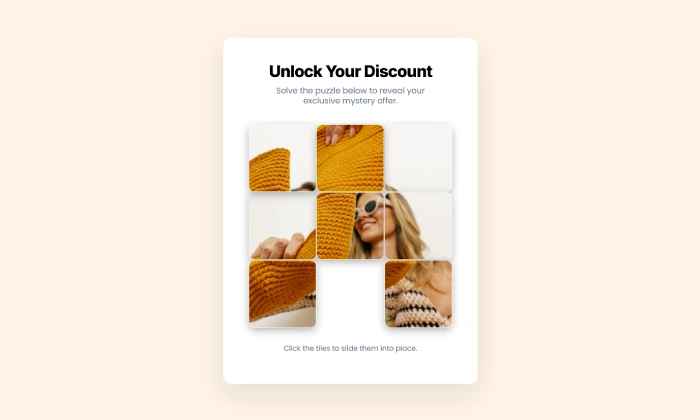
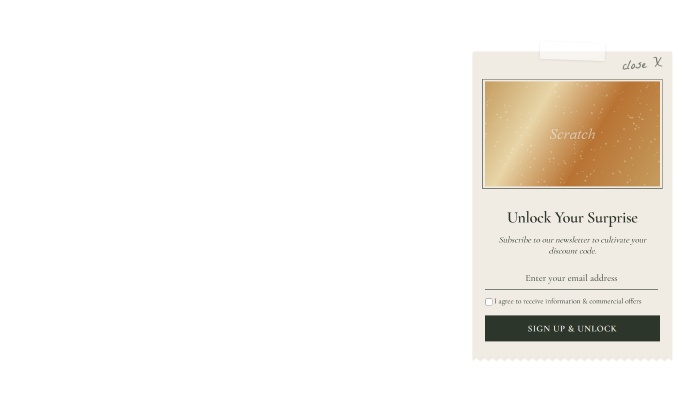
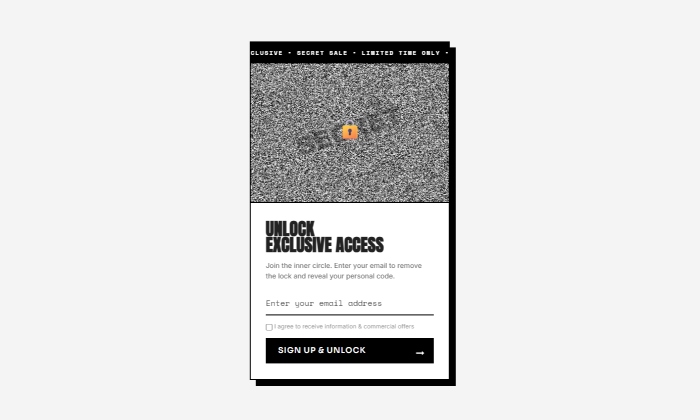
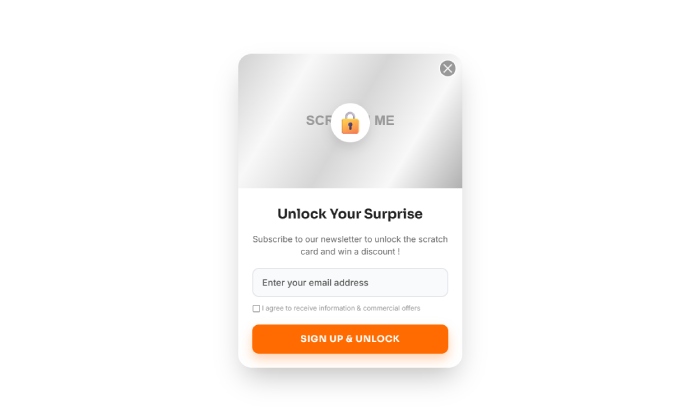
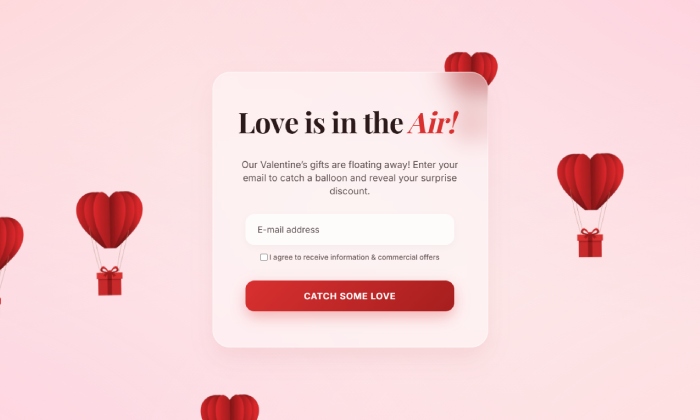
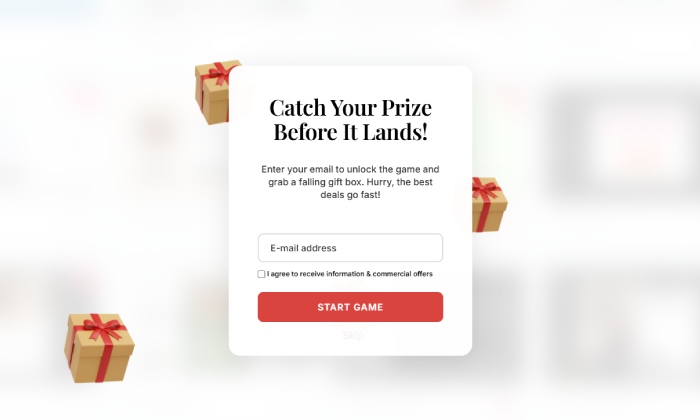
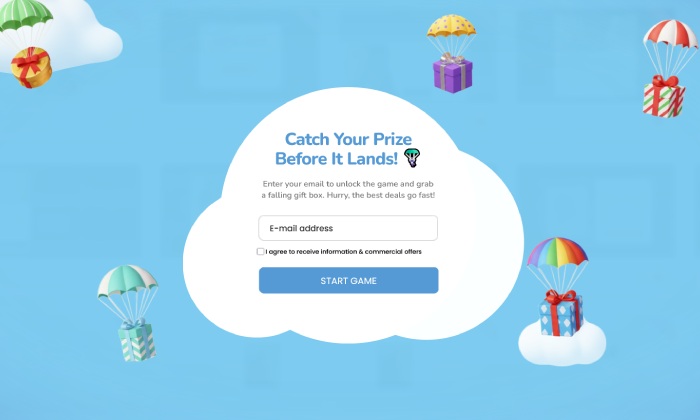
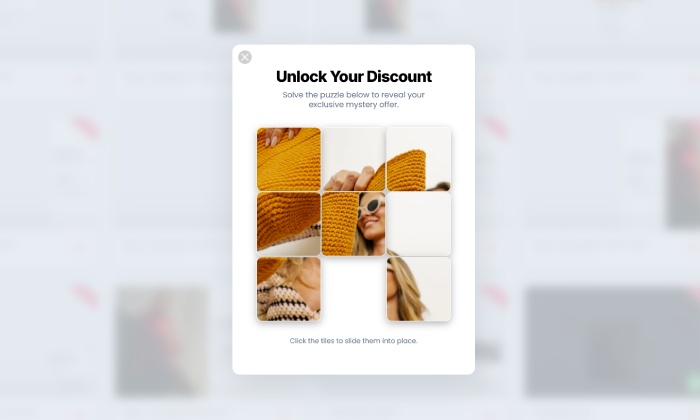
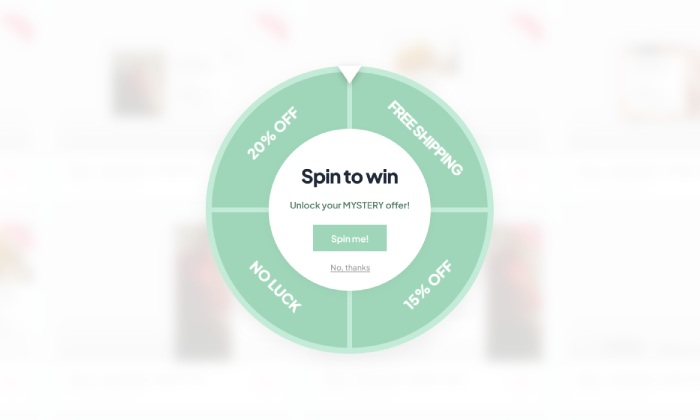
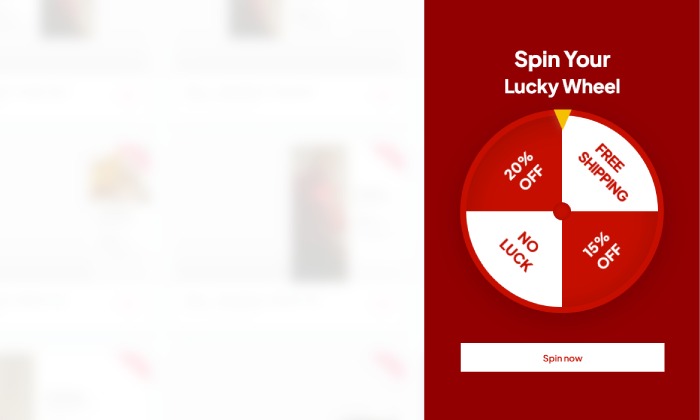
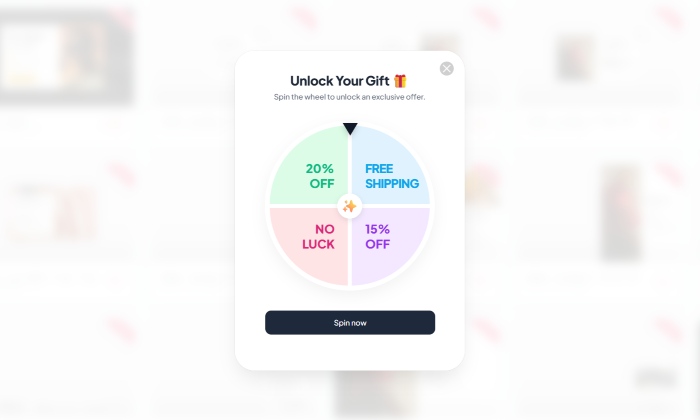
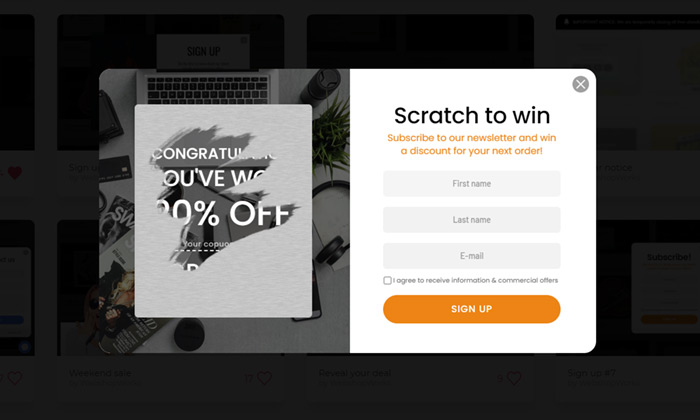
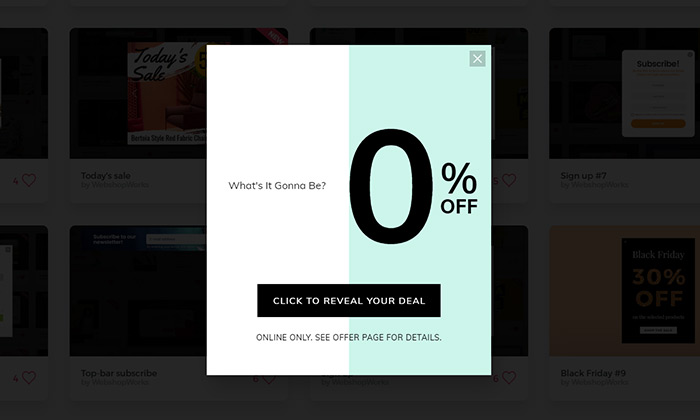
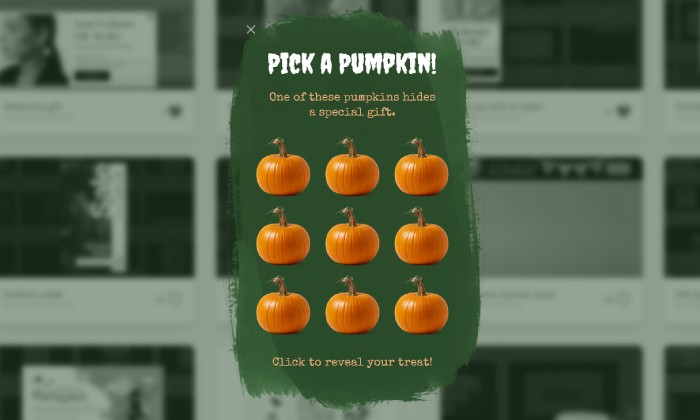
Gamified Popup
Boost Engagement and Sales with a Fun Puzzle Popup Challenge visitors to solve an interactive slidin…
Read more »