Don't let spam bots fill your database with fake entries. Protect your form by adding a layer of security with our reCAPTCHA Module. It integrates with PrestaShop to block bots without annoying real customers.


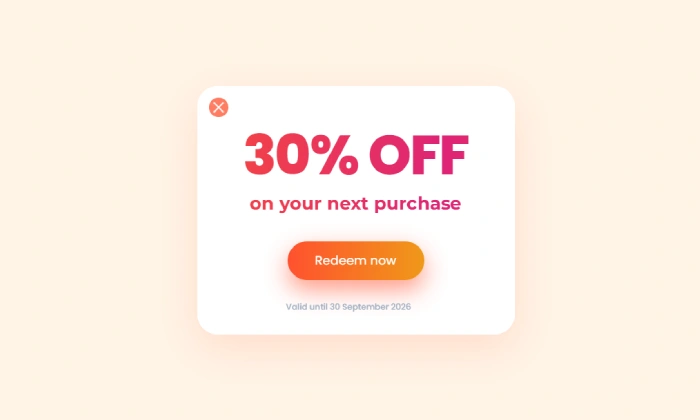
Discount Coupon Popup
Turn engaged shoppers into buyers with a coupon Offer a timely discount coupon to visitors showing i…
Read more »
Gamified Popup
Boost Engagement and Sales with a Fun Puzzle Popup Challenge visitors to solve an interactive slidin…
Read more »
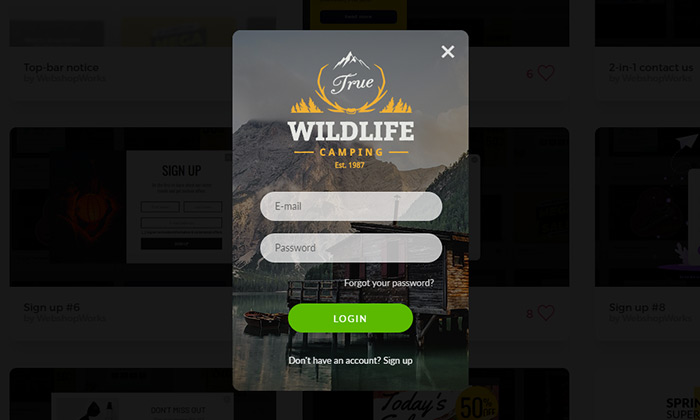
Influencer Popup
Create a custom welcome popup for visitors from influencer campaigns, building instant trust and dri…
Read more »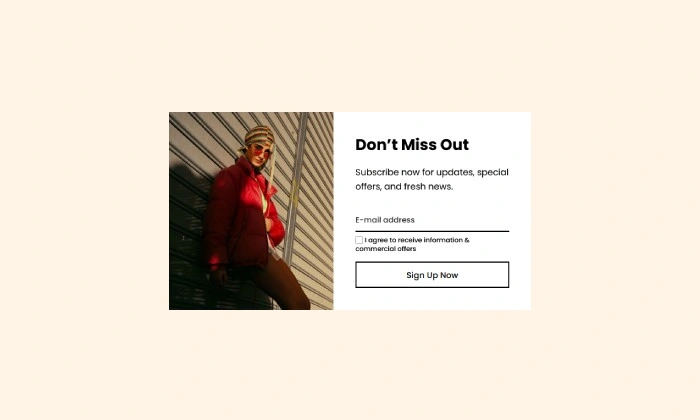
Newsletter Signup Popup
Convert more traffic into valuable subscribers with an effective and user-friendly newsletter popup …
Read more »
Contact Form Popup
Provide instant, accessible support with a non-intrusive contact form that builds trust and removes …
Read more »
Mailchimp Newsletter Popup
Sync new subscribers from your PrestaShop store directly to your Mailchimp Audience and marketing ca…
Read more »