


Mystery Gift Popup
Boost Engagement and Grow Your List with a Mystery Gift Game Delight new visitors with a fun 'pick a…
Read more »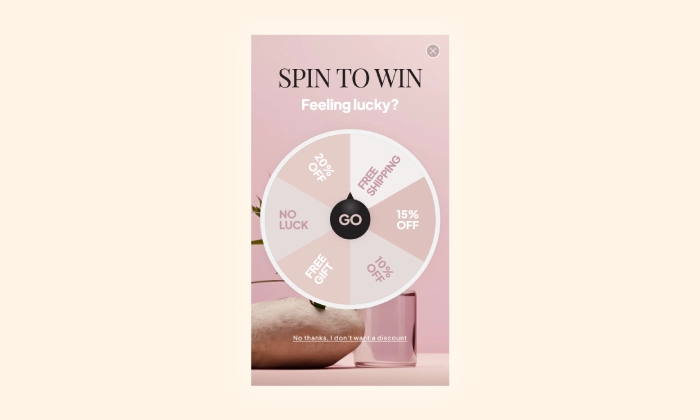
Spin To Win Popup
Turn shopping into a fun experience with a "Spin to Win" wheel that offers instant discounts and dri…
Read more »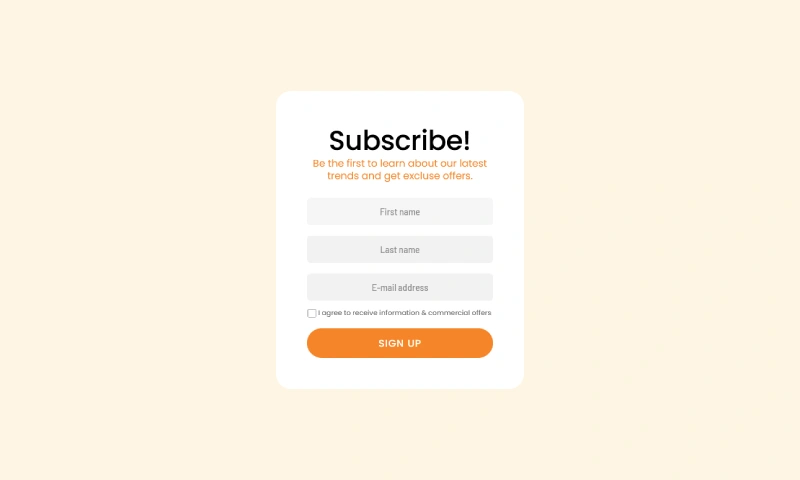
Mailchimp Newsletter Popup
Sync new subscribers from your PrestaShop store directly to your Mailchimp Audience and marketing ca…
Read more »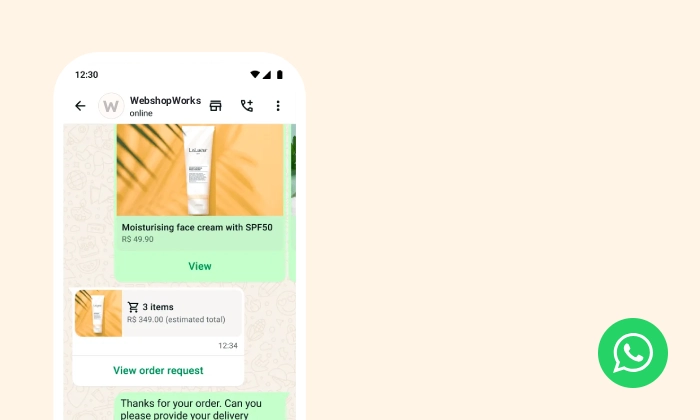
WhatsApp Live Chat Popup
Provide real-time support and build relationships by allowing visitors to chat with you directly on …
Read more »
Contact Form Popup
Provide instant, accessible support with a non-intrusive contact form that builds trust and removes …
Read more »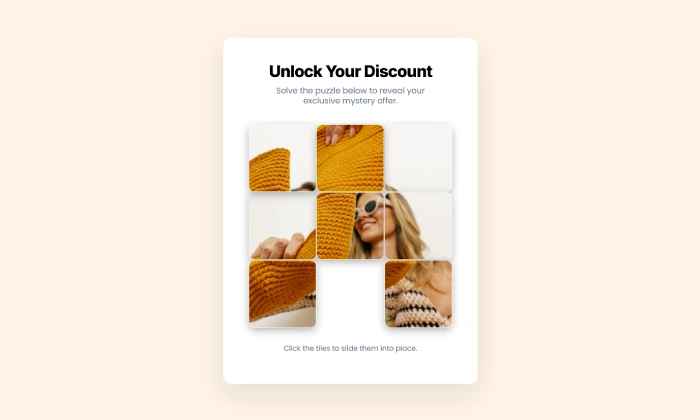
Gamified Popup
Boost Engagement and Sales with a Fun Puzzle Popup Challenge visitors to solve an interactive slidin…
Read more »