


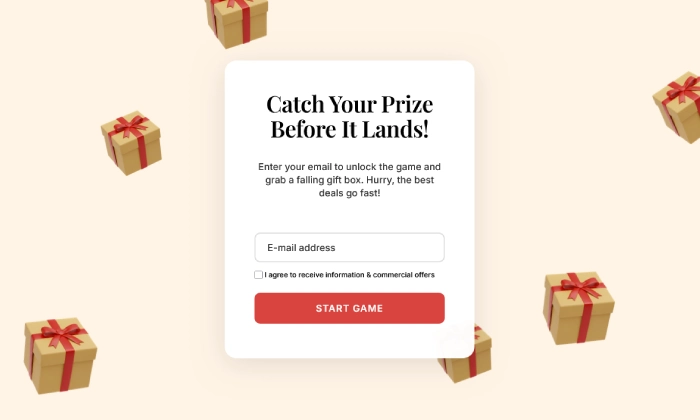
Falling Gifts Popup
A Fresh Way to Engage Visitors and Grow Your List Stand out from the crowd and delight visitors with…
Read more »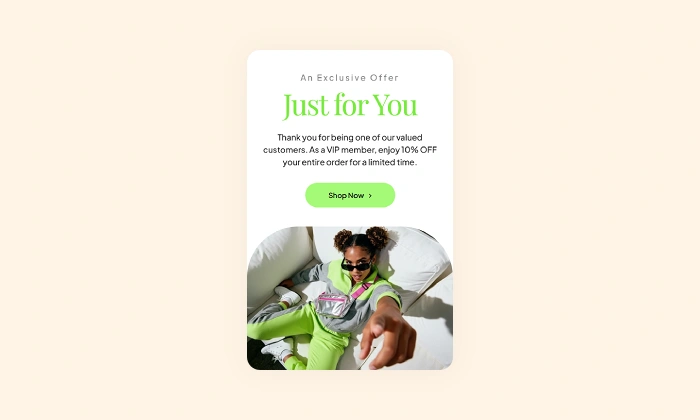
VIP Offer Popup
Reward your best customers with exclusive deals Increase loyalty and drive repeat sales by showing s…
Read more »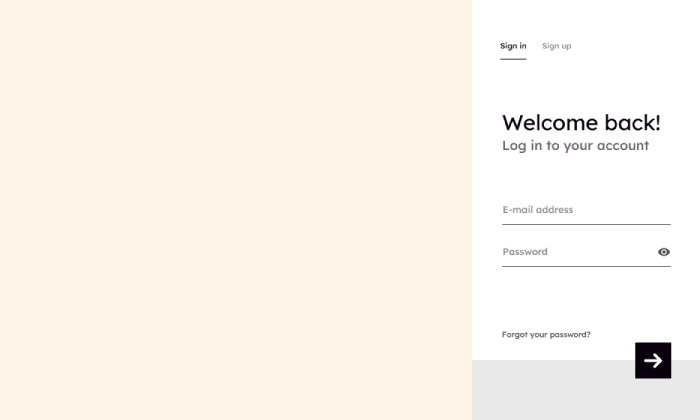
Login Popup
Allow your customers to log in from any page without interruption, reducing friction and improving t…
Read more »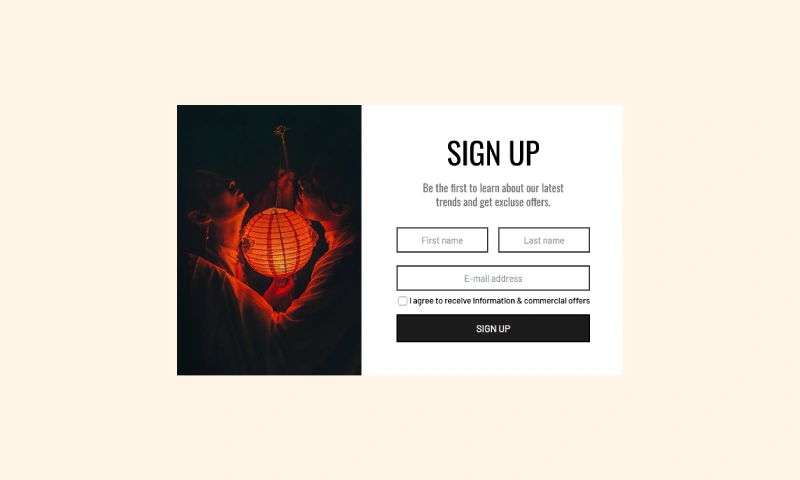
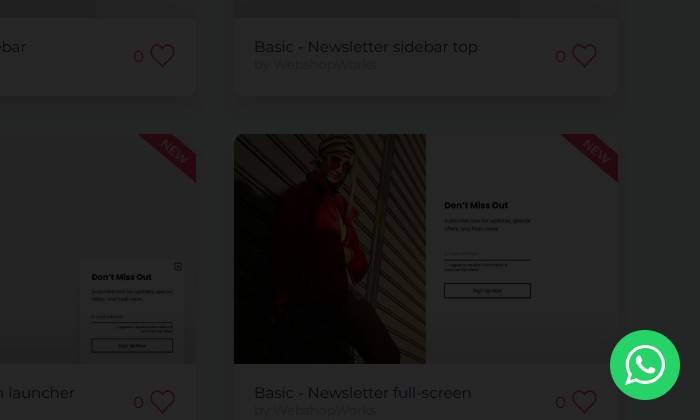
Brevo Newsletter Popup
Sync new subscribers from your PrestaShop store directly to your Brevo email lists and automation wo…
Read more »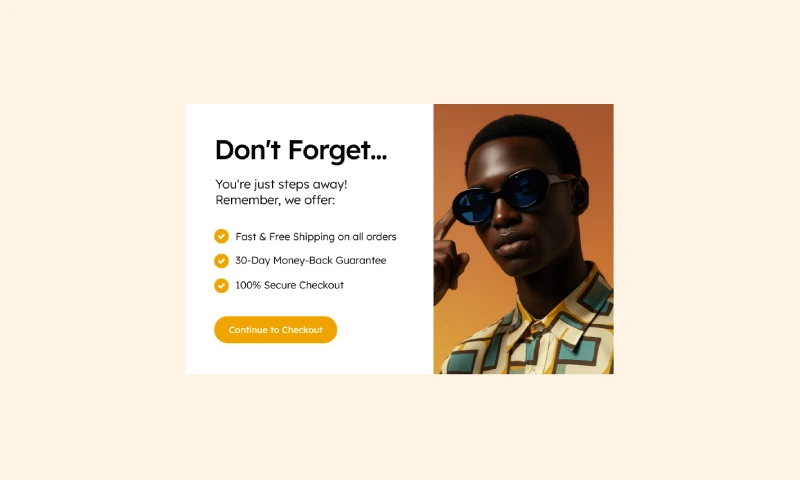
Exit-Intent Popup
Boost checkout confidence and save sales Remind shoppers of your store’s key benefits at the last se…
Read more »
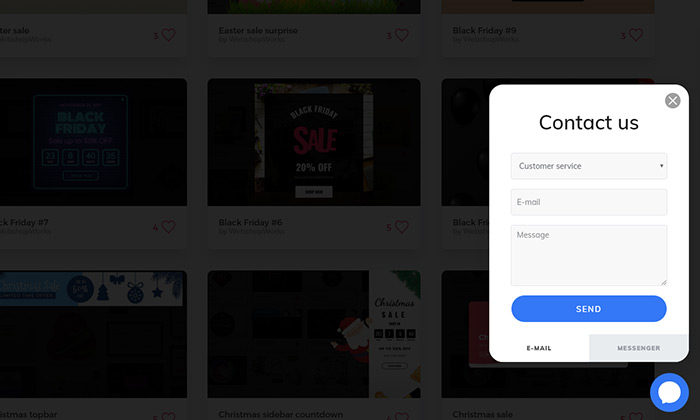
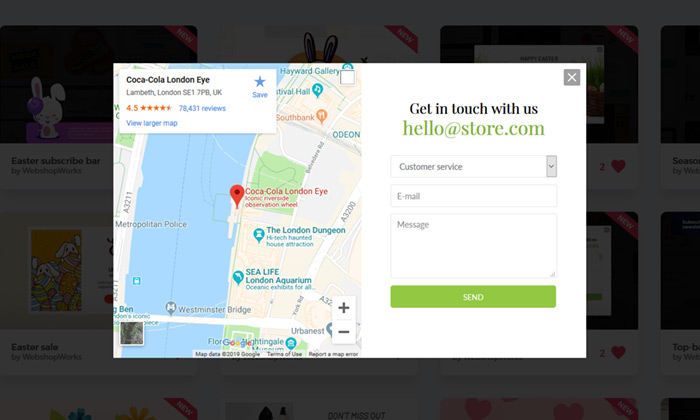
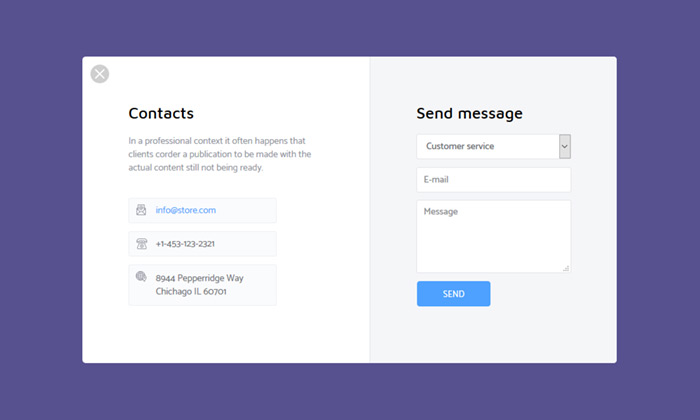
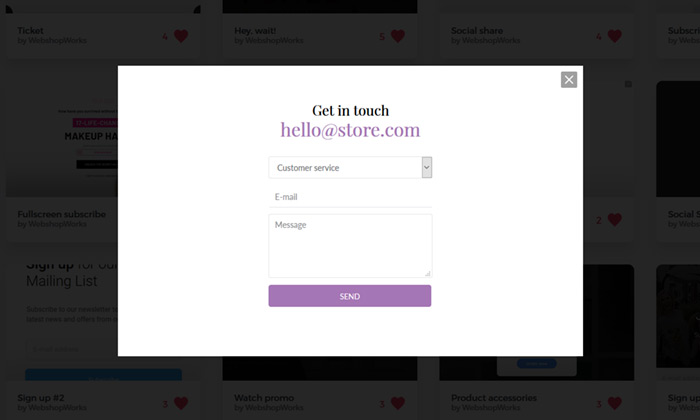
Contact Form Popup
Provide instant, accessible support with a non-intrusive contact form that builds trust and removes …
Read more »