Don't let spam bots fill your database with fake entries. Protect your form by adding a layer of security with our reCAPTCHA Module. It integrates with PrestaShop to block bots without annoying real customers.


 NEW
NEW
 NEW
NEW
 NEW
NEW
 NEW
NEW
 NEW
NEW
 NEW
NEW
 NEW
NEW
 NEW
NEW
 NEW
NEW
 NEW
NEW
 NEW
NEW
 NEW
NEW
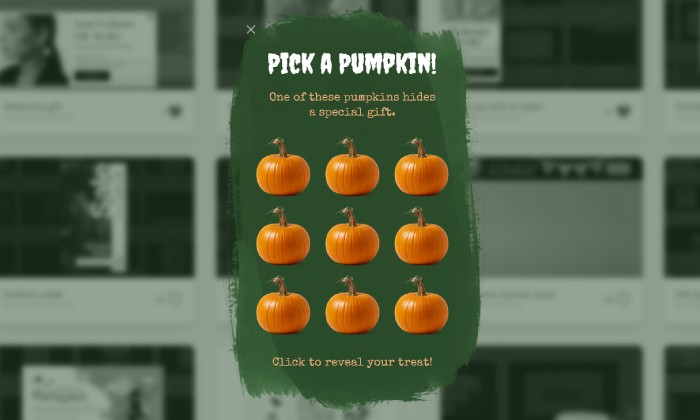

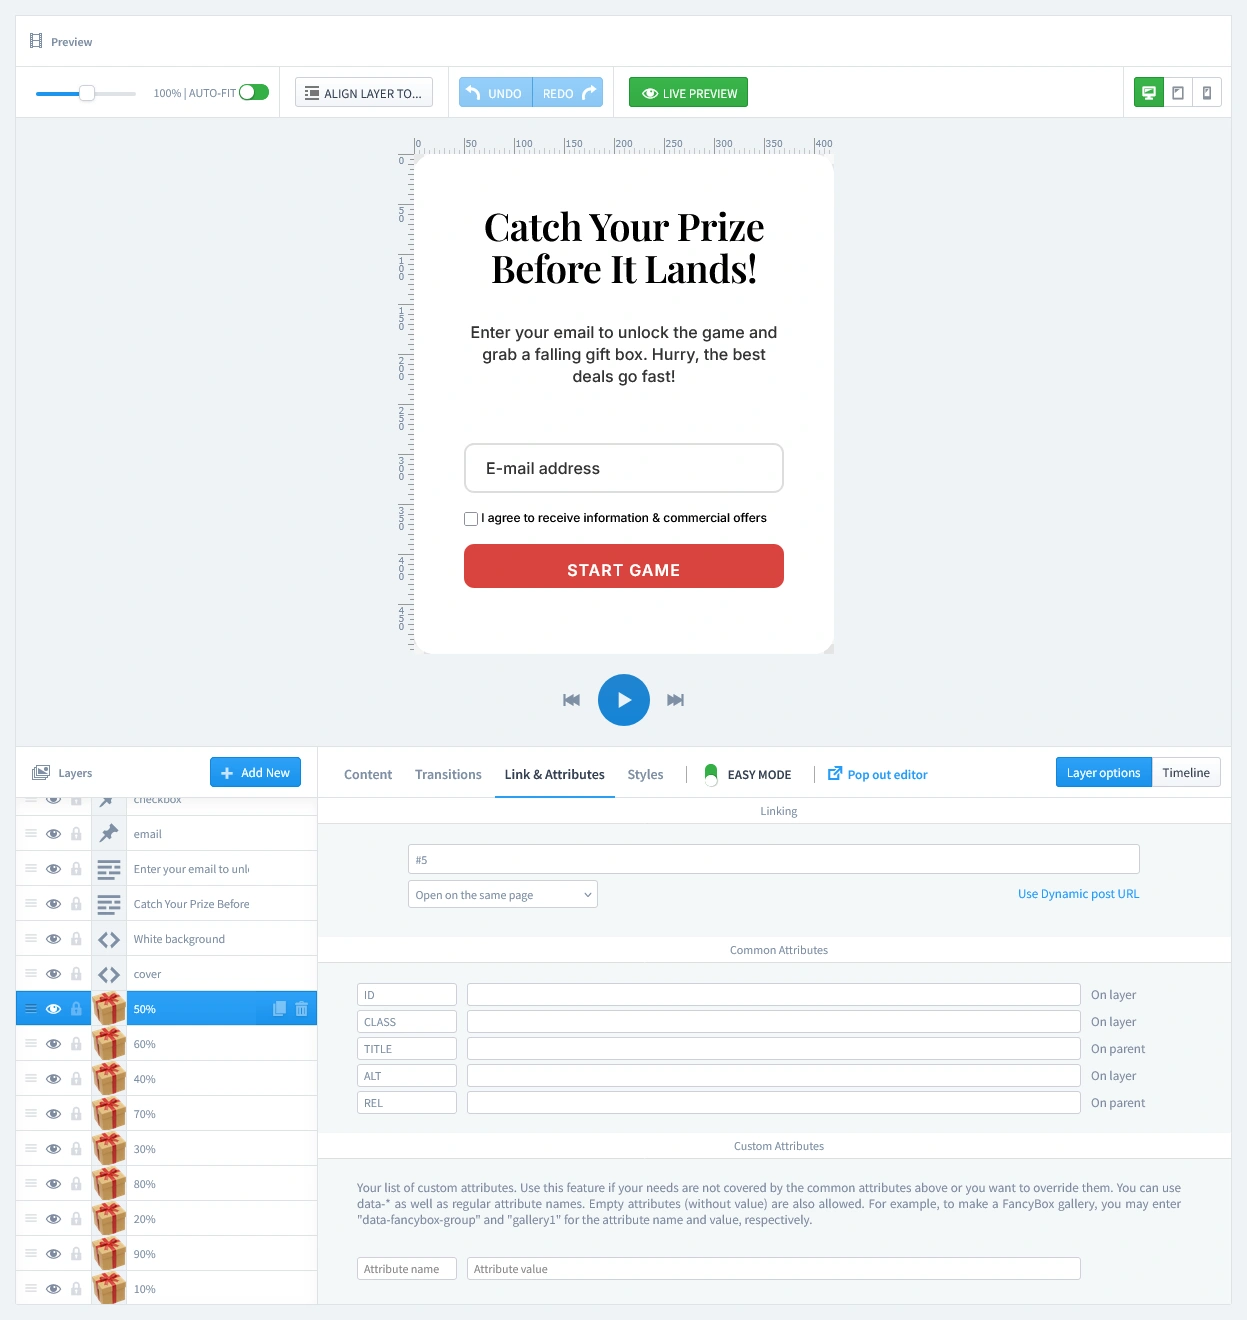
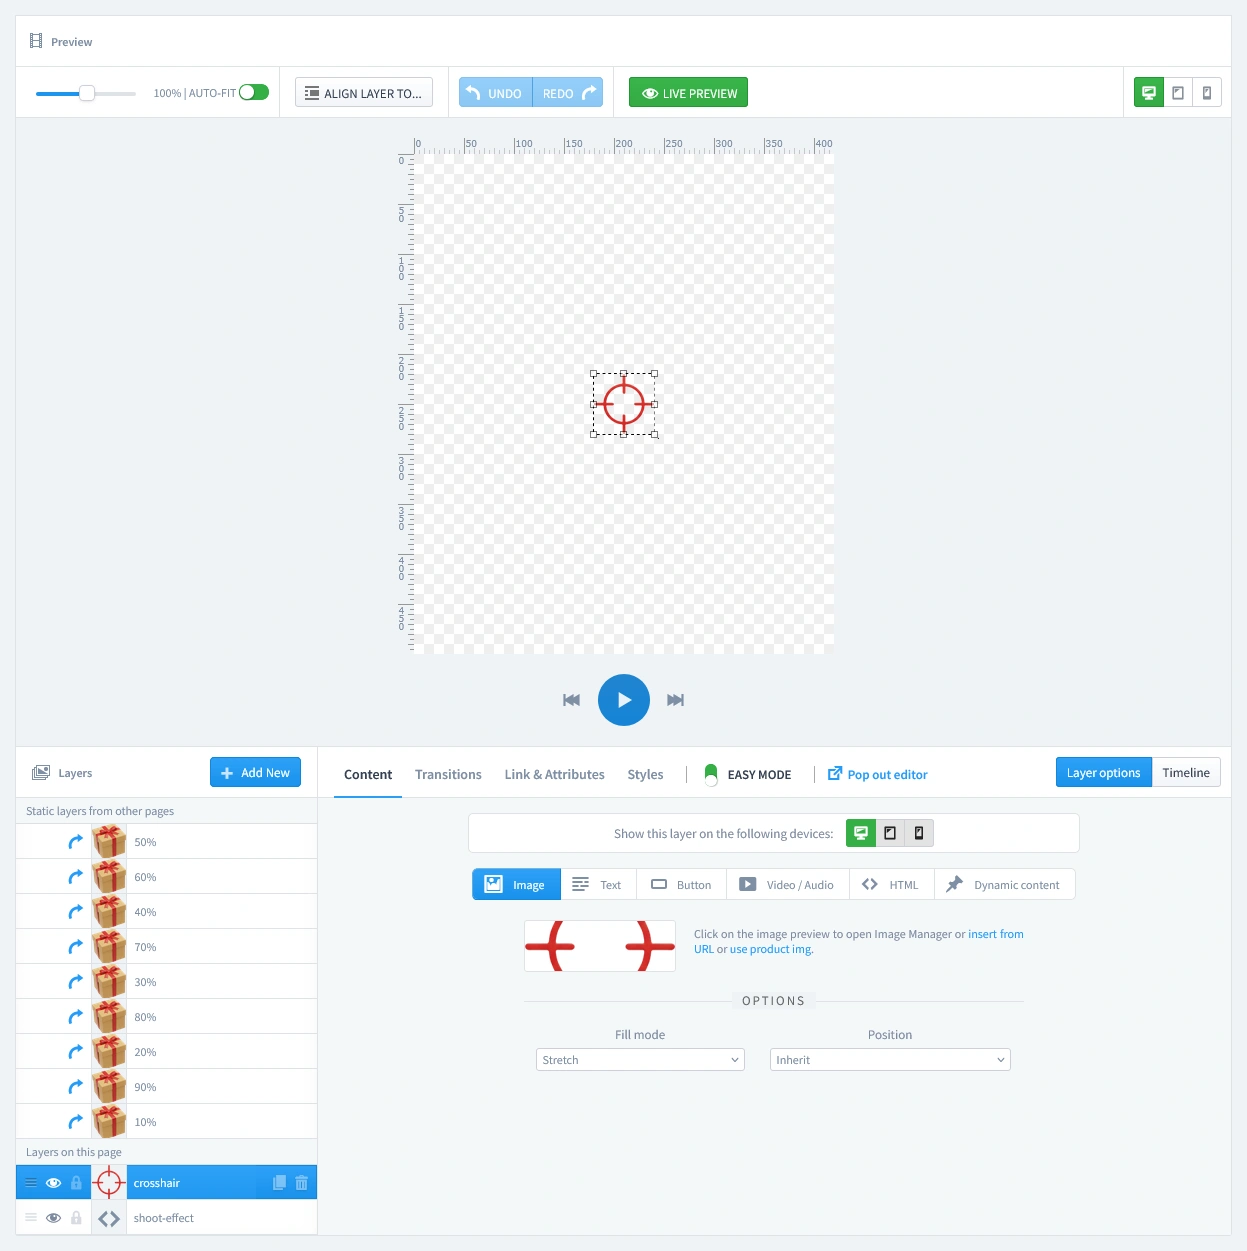
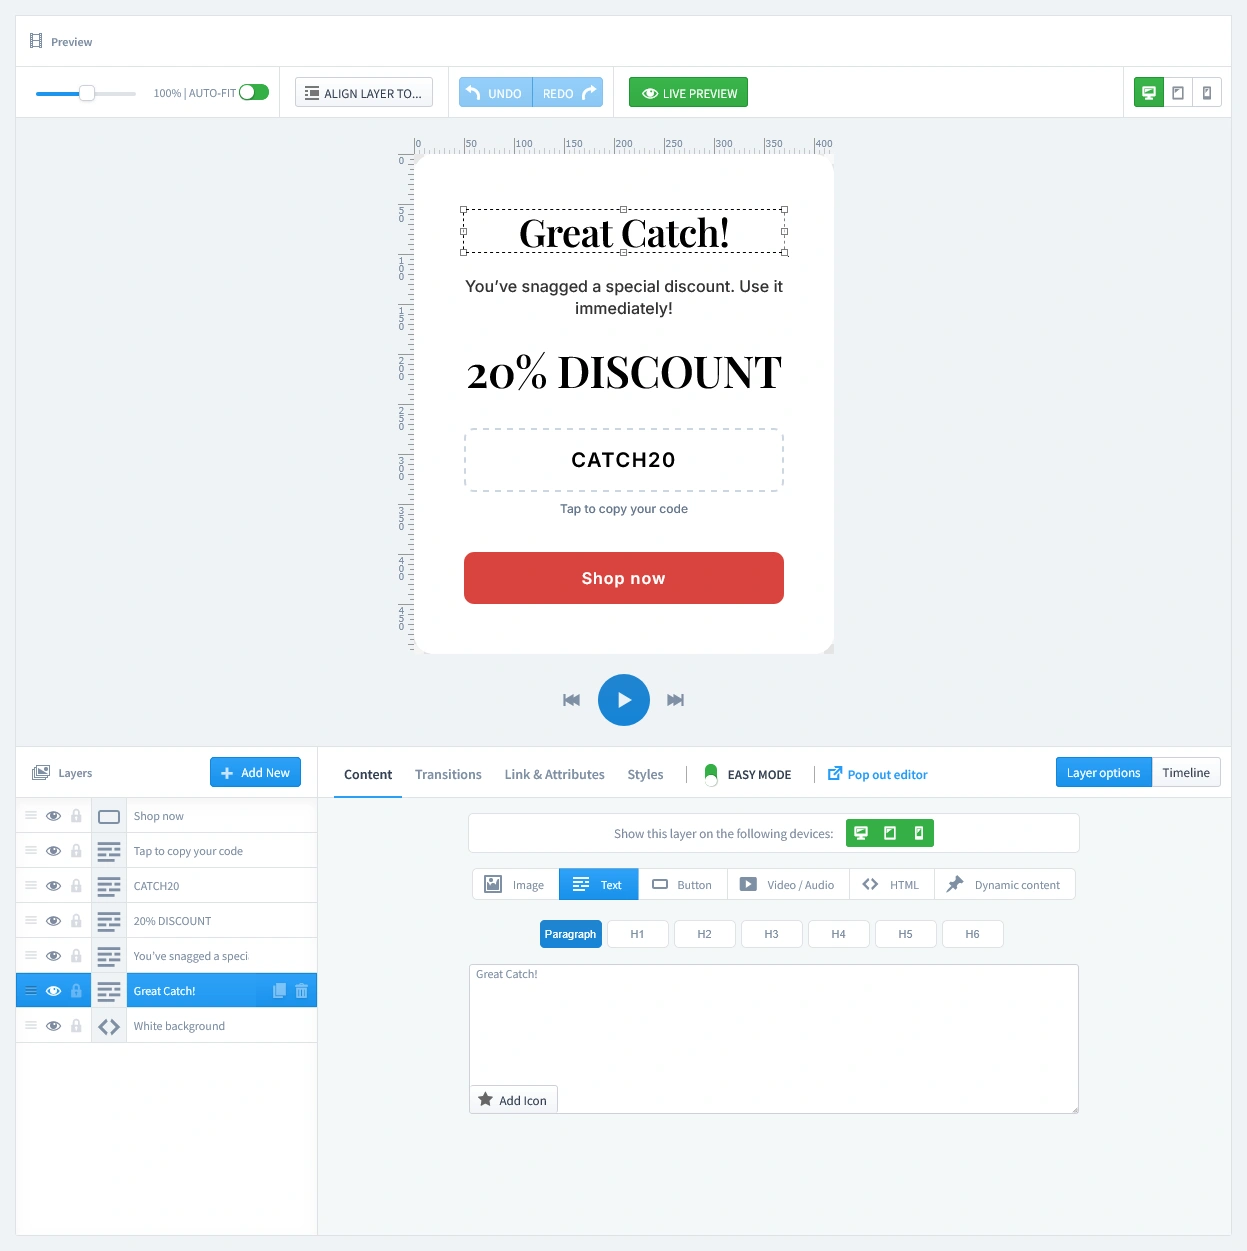
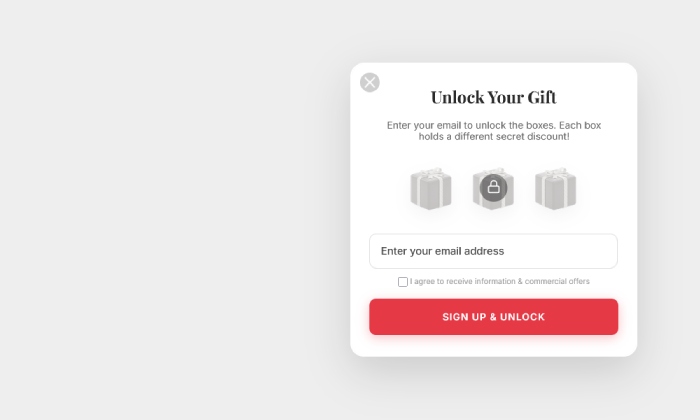
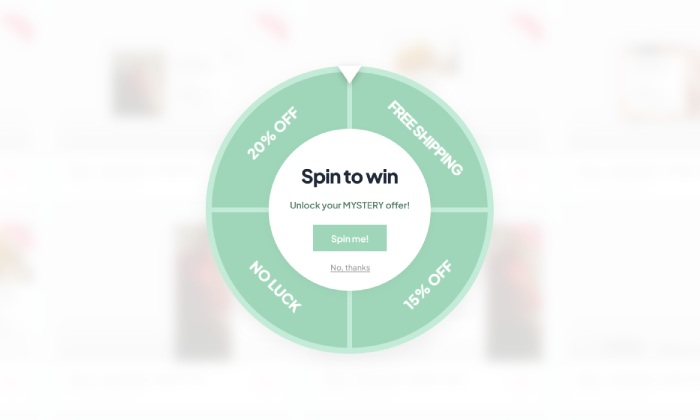
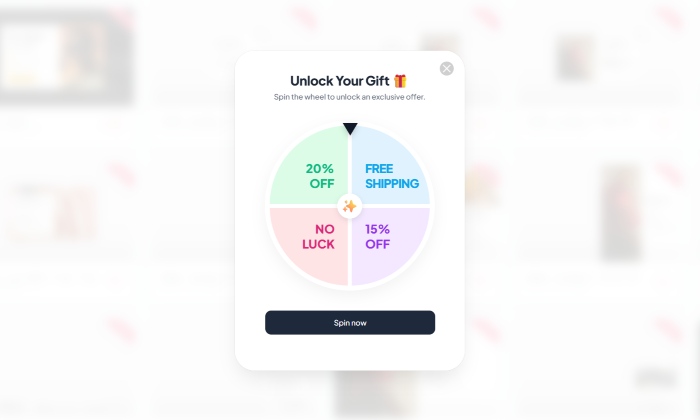
Mystery Gift Popup
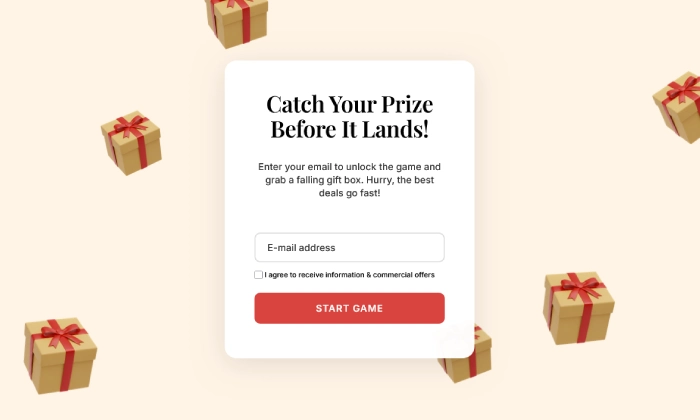
Boost Engagement and Grow Your List with a Mystery Gift Game Delight new visitors with a fun 'pick a…
Read more »
Influencer Popup
Create a custom welcome popup for visitors from influencer campaigns, building instant trust and dri…
Read more »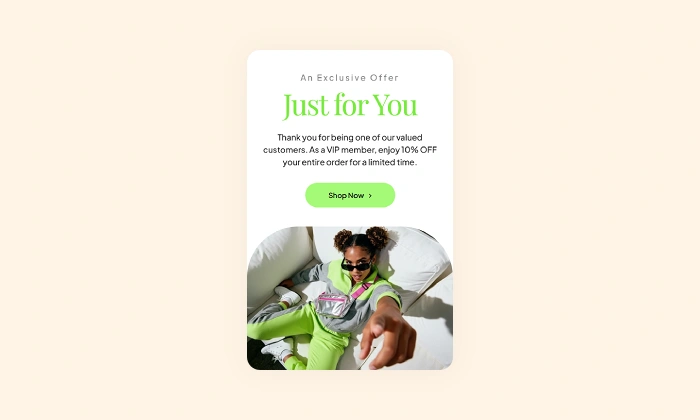
VIP Offer Popup
Reward your best customers with exclusive deals Increase loyalty and drive repeat sales by showing s…
Read more »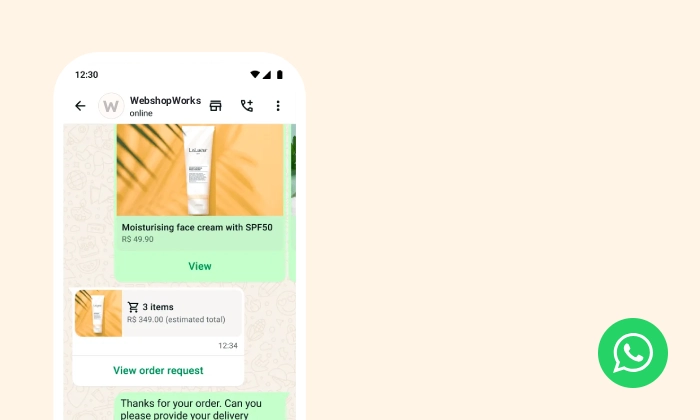
WhatsApp Live Chat Popup
Provide real-time support and build relationships by allowing visitors to chat with you directly on …
Read more »
Mailchimp Newsletter Popup
Sync new subscribers from your PrestaShop store directly to your Mailchimp Audience and marketing ca…
Read more »
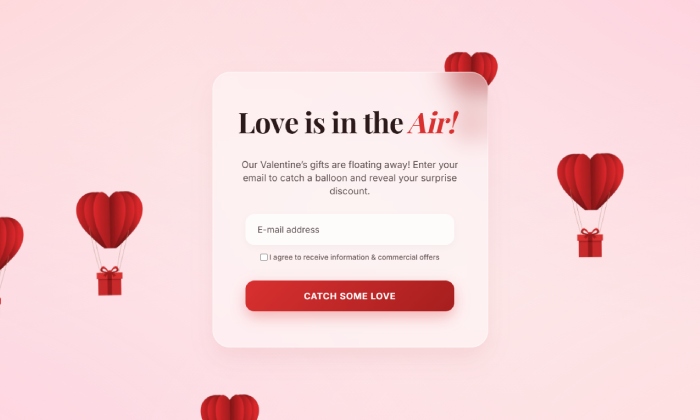
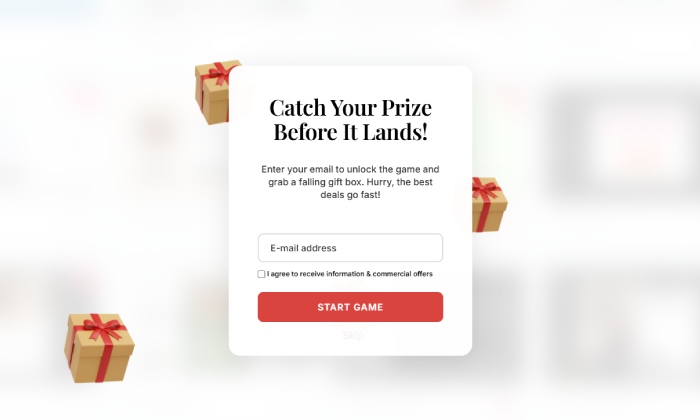
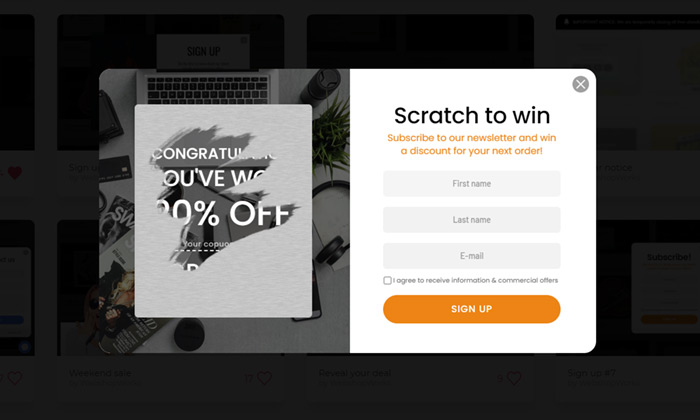
Newsletter Signup Popup
Convert more traffic into valuable subscribers with an effective and user-friendly newsletter popup …
Read more »